
Ultimate Beginner’s Guide to Using the Terminal
Overcoming Your Fear of Using the Terminal


For years, I was afraid of the Terminal. I was scared that I would erase my entire hard drive with a single typo. 😱
But, then I started using a task runner to compile my Sass (among other things). My world changed forever. I found it to be so much faster and allowed far more task automation than the tools I had been using previously. Anything that will speed up your workflow is worth investing in (whether that’s time or money).
Once I started spending more time in the Terminal, I became more comfortable and confident. Trust me, I still prefer a good GUI (graphical user interface), but I’m no longer afraid I’m going to delete my entire hard drive. — And let’s be honest, you could delete your entire hard drive with a GUI too. Drag your hard drive to the trash and click "Empty Trash." But, nobody in the right their mind would do that. Similarly, you’d have to type a very specific command in the Terminal to delete your entire hard drive and nobody in their right mind would do that either. — Plus if you have a typo in the Terminal, generally, it will you that you have a typo and the command won’t run.
Terminal Commands that I’ve Found Helpful
So, here are the commands that I've found to be the most useful.
Typically when you see commands to run Terminal, you'll see a $ at the beginning of the line. Don’t copy the $, it signifies that it’s the beginning of a Terminal line.
Changing Directories
cd stands for change directory. Similar to the Finder where you click on the folder, in Terminal, you just type in the directory that you want:
$ cd Sites
You can type cd .. to go up a level or cd ../.. to go up 2 levels. cd / will take you to your home directory.
The Terminal also supports tab auto-completion. So you could type cd De<TAB> and it will fill in cd Desktop (assuming that’s a folder option) for you. Handy!
Listing a Folder's Contents
ls will list all files and directories in your current location. If you want to see "hidden" files, or files that start with a period (.) Simply, add a "flag". You can think of a flag as a way of modifying your command or adding preferences. In our case, ls -la.
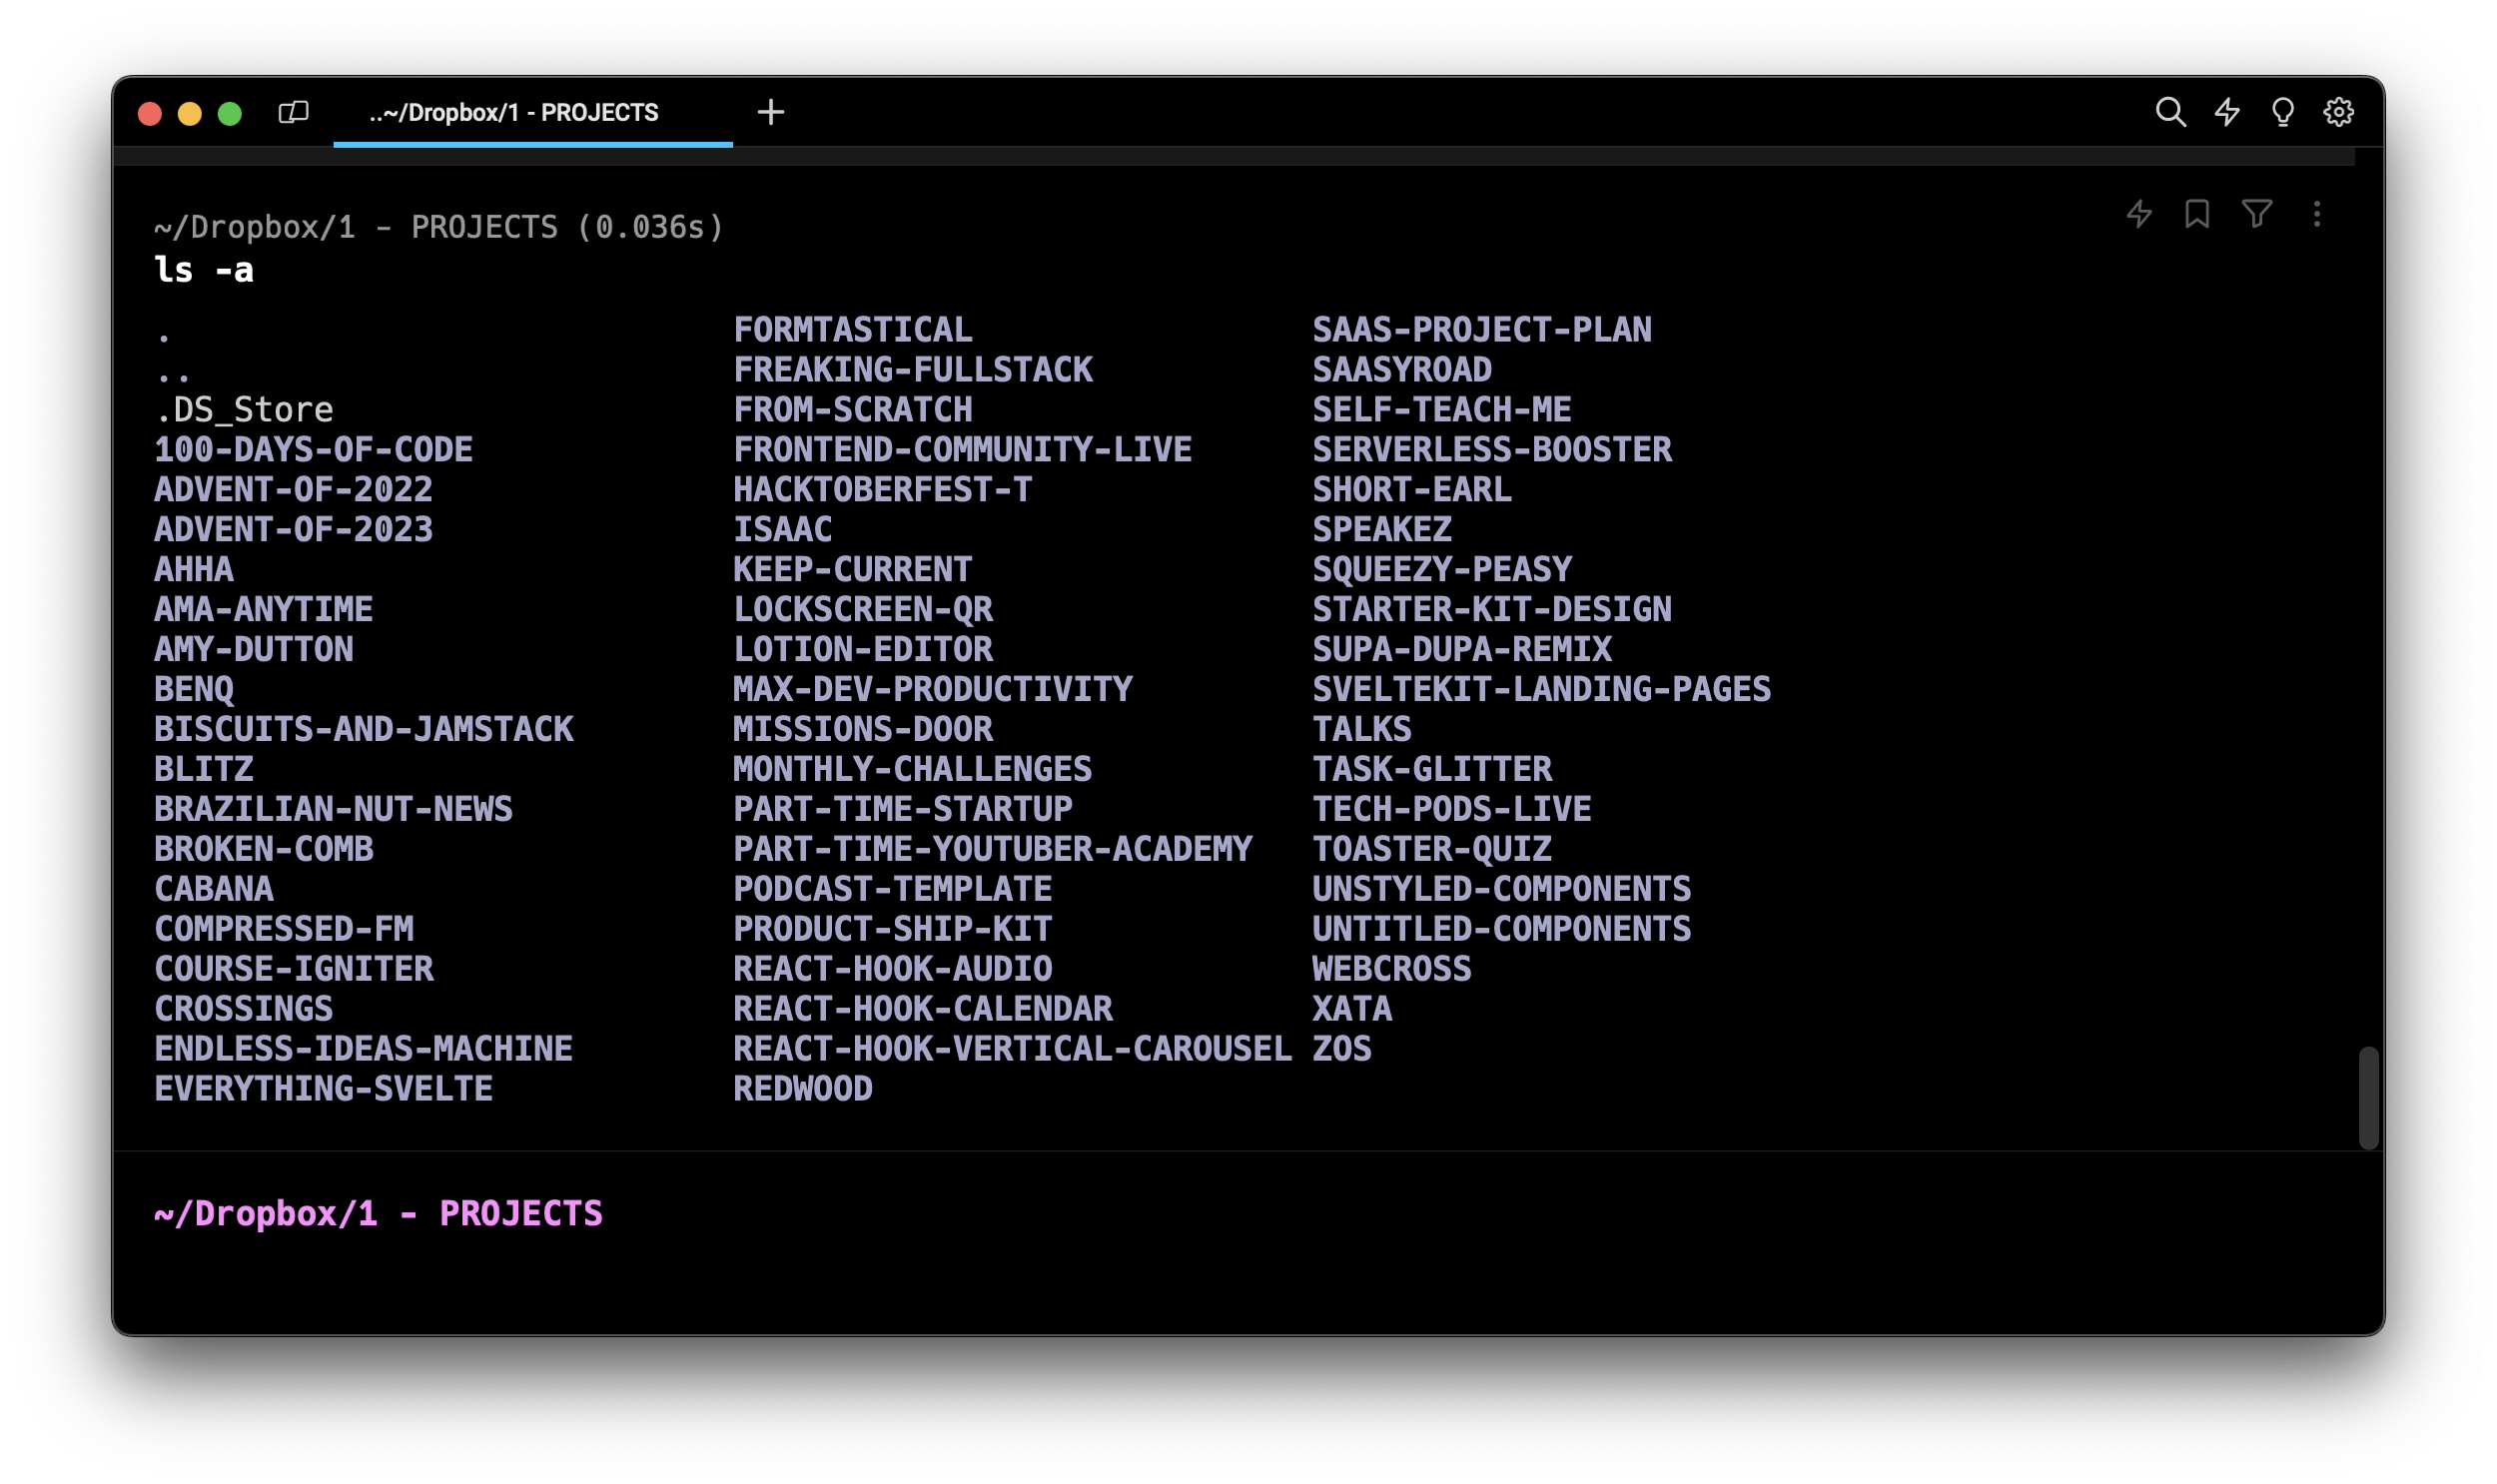
The dash - and any letter combination after the dash is called a flag.
If you want also want to see who owns the file and its permissions use ls -la.
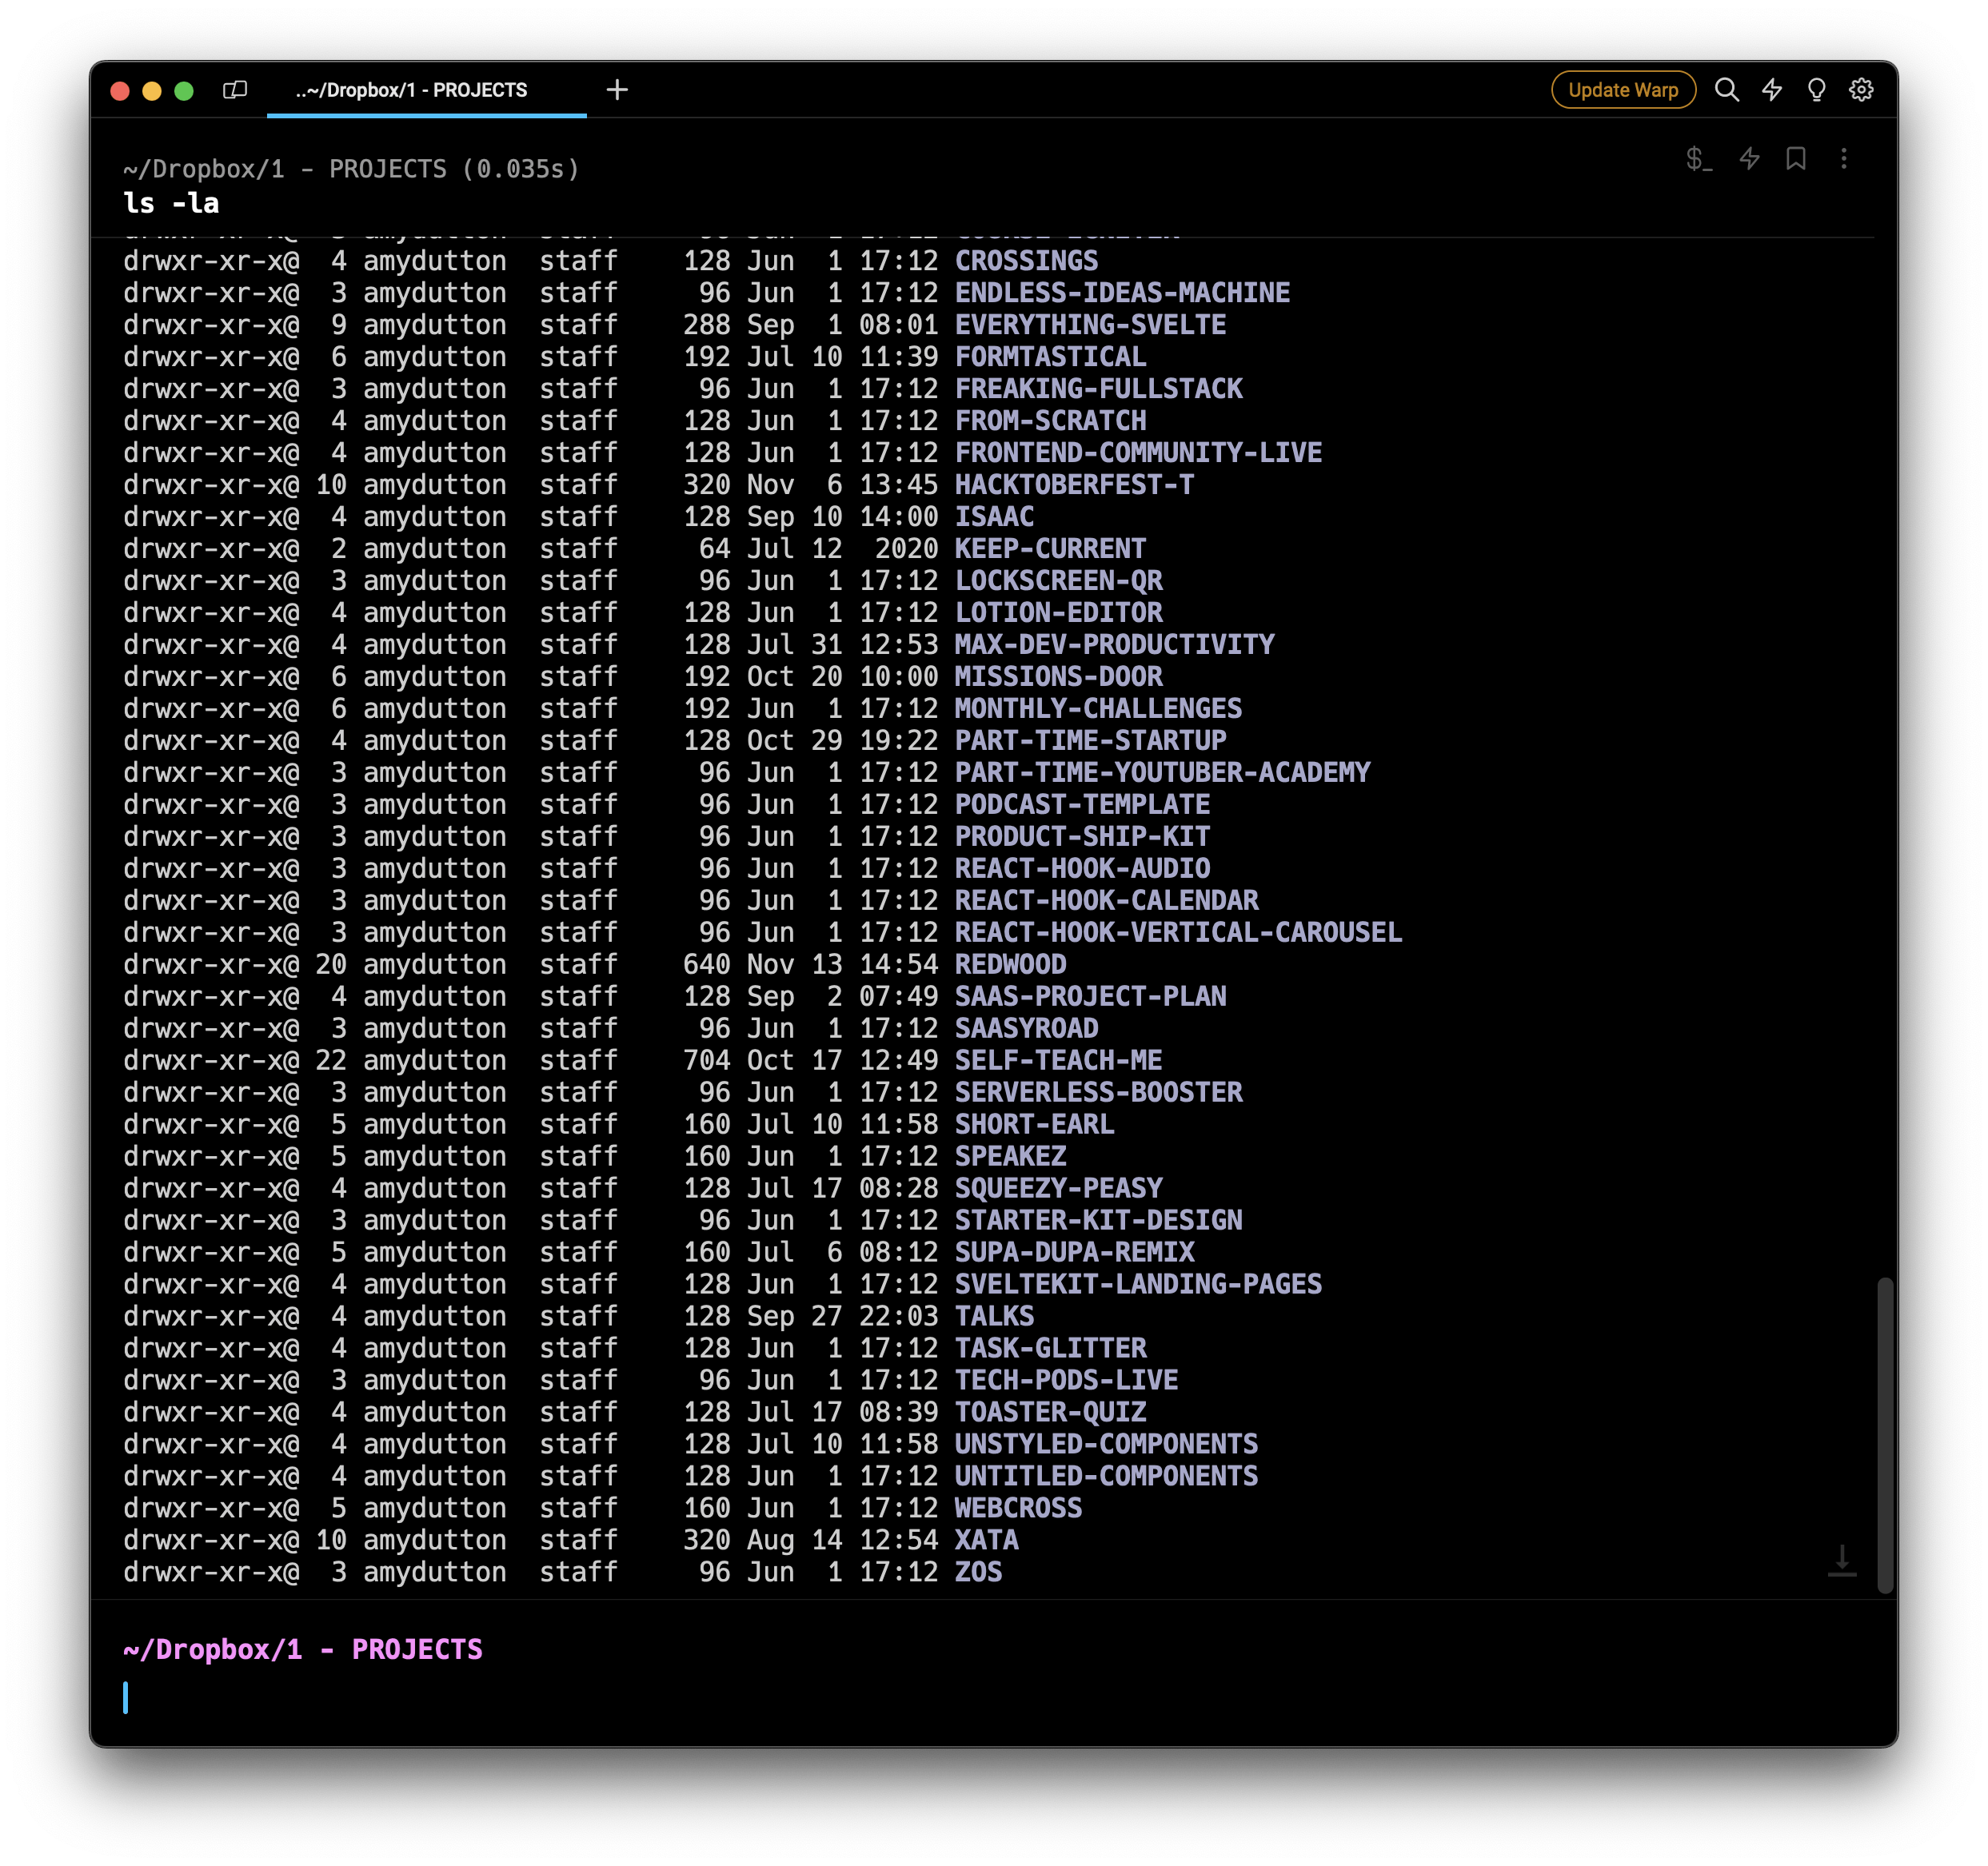
In our output, the weird looking letter combinations on the side, like drwxr-xr-x , is a shorthand for that file's/folder's permissions. In this case, everyone can read the directory, but its content can only be changed by the user. If you want to do a deep dive on permissions, you might find this article from Serverwise useful.
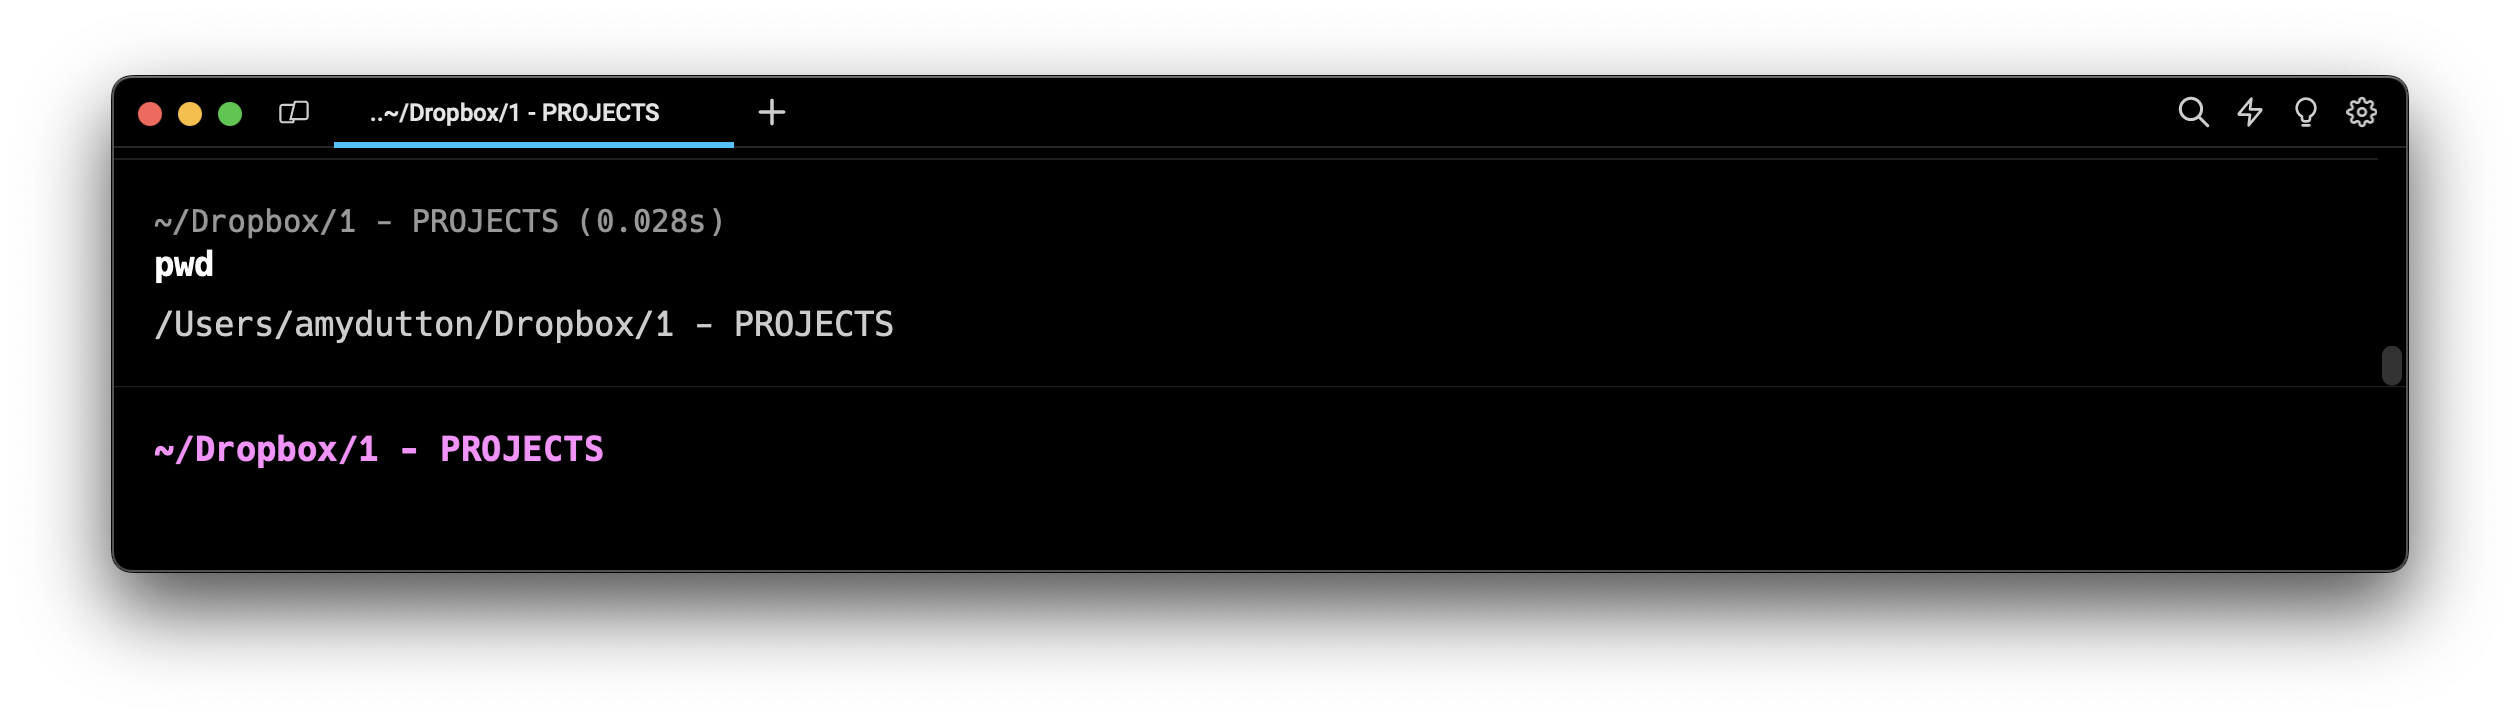
pwd will show you the file path to your current location. This comes in real handy when you want to run a script from anywhere.
Making a New Folder (or Directory)
mkdir FOLDERNAME will create a folder named FOLDERNAME. mkdir stands for "Make Directory."
⚡ Power Tip: Anytime, you hit the up arrow on your keyboard, it will fill in the last command you ran. Hit it again and it will cycle to the command before that. The down arrow cycles in the opposite direction.
Just to give you an idea of how these commands are used together: when I first open the Terminal, I might type ls to see what the nested files / folder options are. Then:
$ cd Code/GIT/
$ mkdir NEWPROJECT
$ cd NEWPROJECT
This navigates to the GIT folder and then creates a new directory for a project. Then, navigates inside the folder I just created.
If this is still making your head spin, here’s a WYSIWYG way that I saved until the end:
Open up your Terminal type in
cd .Then, open up Finder, navigate to the Folder you want to open in Terminal
Drag that folder from the Finder onto your Terminal window. It should enter the location for that file path for you.
Now, hit
<RETURN>. — You’re welcome.
Creating a New File
You can create a new file by saying touch and then giving the filename:
touch .gitignore
I have a FREE Cheatsheet of my most used Terminal Commands that you can download for FREE.
A few other tips and tricks:
Install Warp, Hyper, or iTerm2 as a Terminal Replacement
If you’re working on a Mac, “Terminal” comes preinstalled.
Pull up the Finder
Type
Cmd + Shift + Uand you’ll automatically jump to the Utilities folderInside, you’ll find an application literally called “Terminal”
This works great if you’re just getting started, but I actually prefer to use Warp. It has a little bit more functionality. Besides, it doesn't hurt that it's FREE!
Customize the Look and Feel of your Terminal
I keep it simple and maintain that less is more. However, you can add additional information for each prompt.
For example, you can change the prompt colors, display what git branch you're currently using, the current git state, etc.

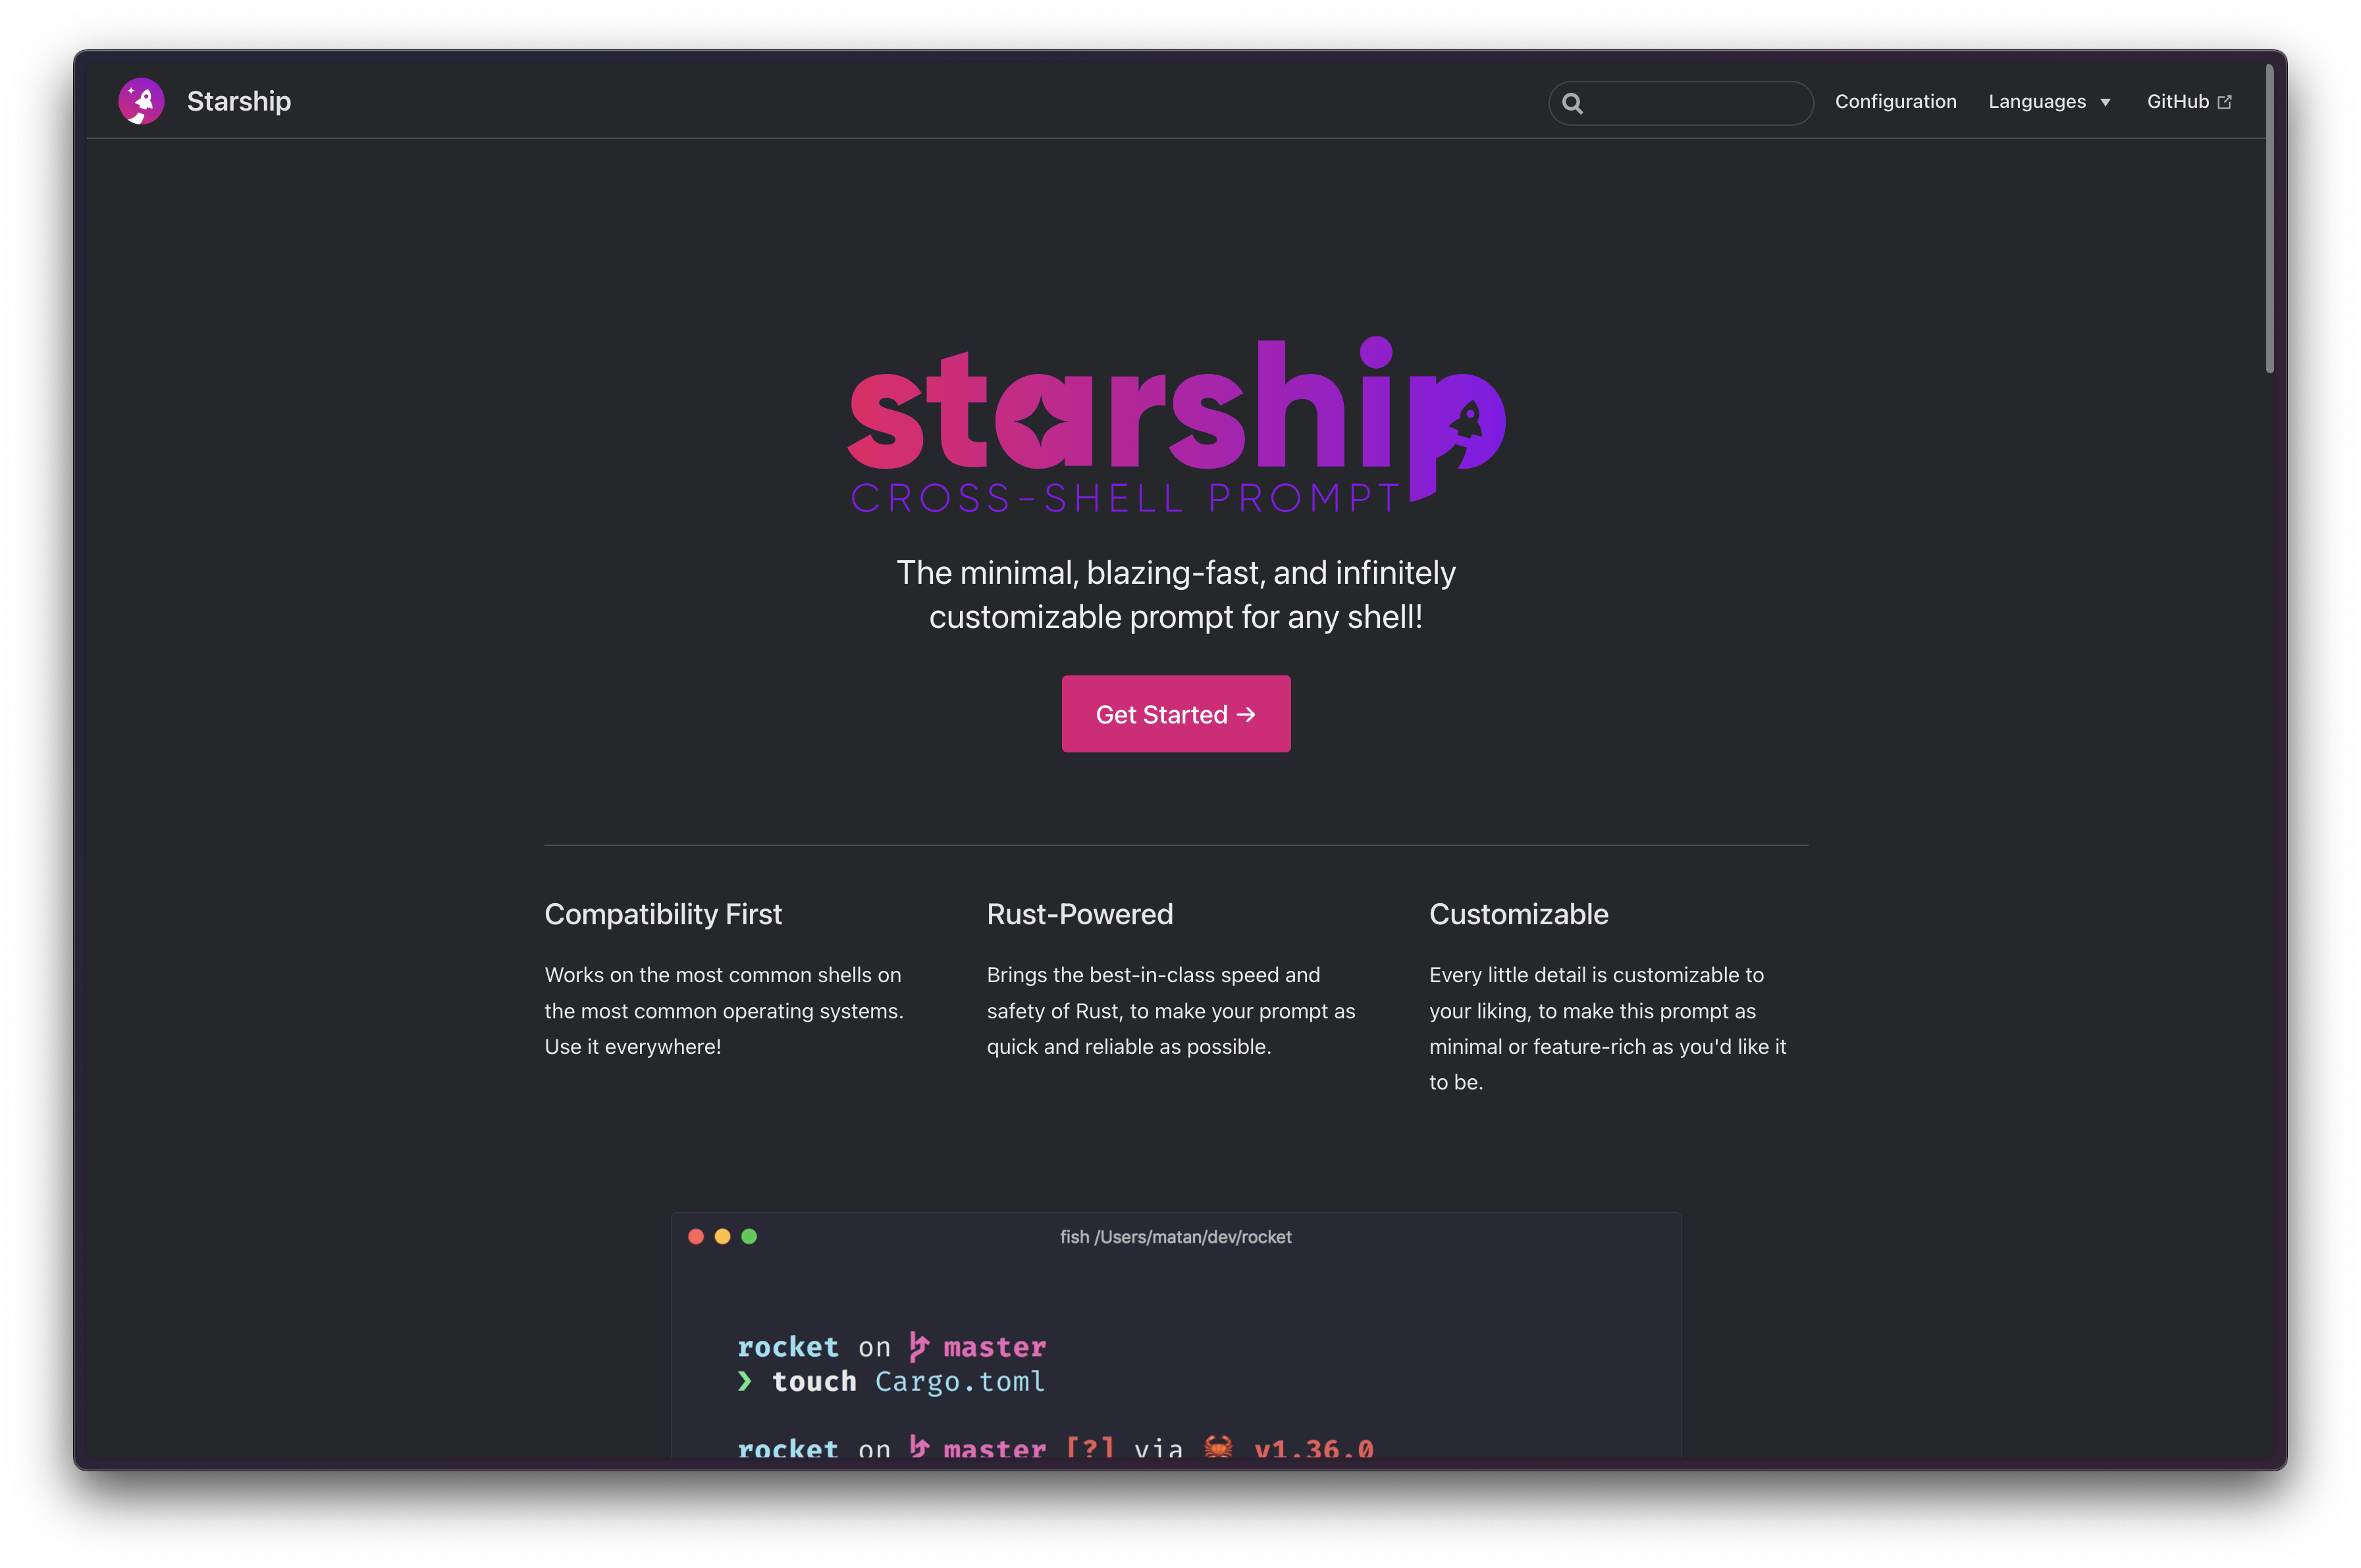
Starship makes this easy.
Use a simple brew command to install:
brew install starshipAdd the initialization script to the end of your
./zshrcfile:eval "$(starship init zsh)"Create a configuration file:
mkdir -p ~/.config && touch ~/.config/starship.tomlThen, all of your customizations and configurations are done within your TOML file.
Overcoming any fears you might have of the Terminal can lead to significant improvements in productivity and efficiency. While graphical user interfaces have their lace, the Terminal is a powerful alternative, that in practice can increase your productivity and streamline tasks.